BrachioGraph Pen Plotter
 B
Bこのプログラムについて
BrachioGraph — the cheapest robot that makes art
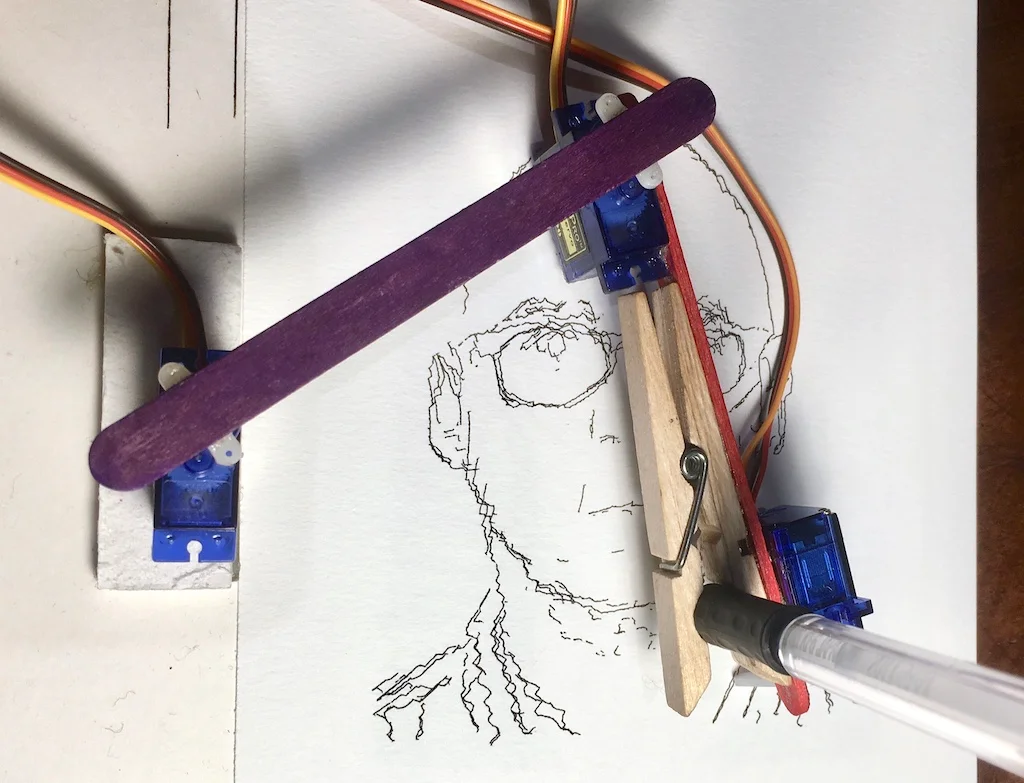
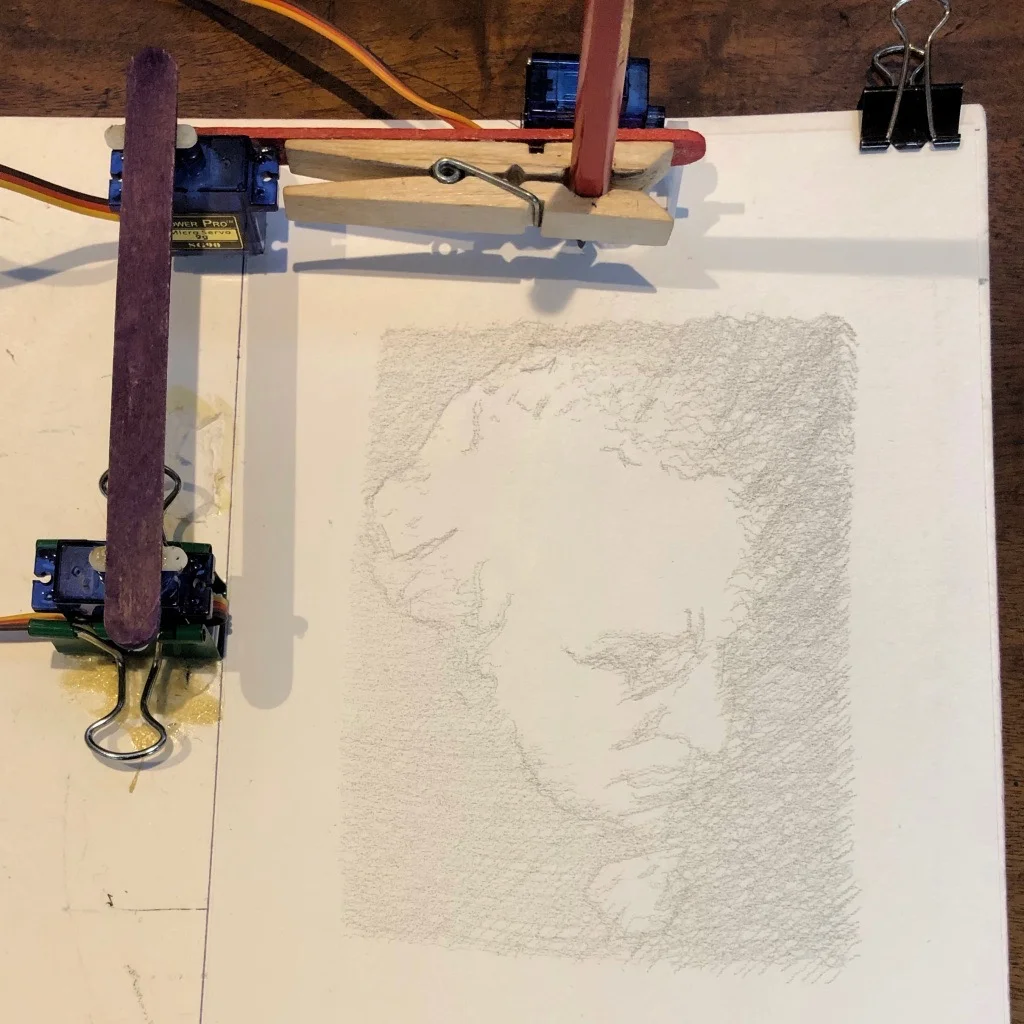
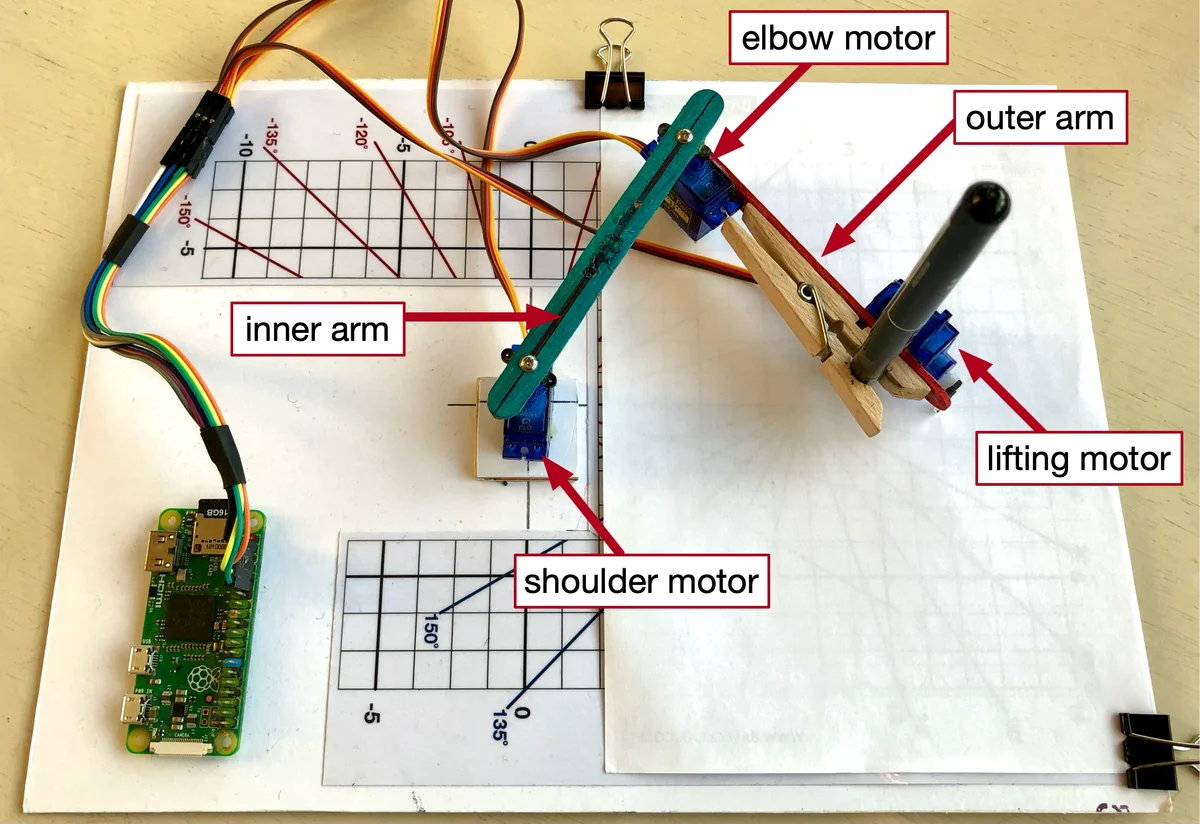
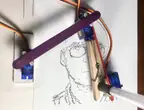
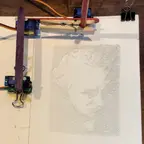
Two sticks, three tiny servos, a clothes peg, and a Raspberry Pi. That's the whole robot. The BrachioGraph is a 2-DOF planar arm that holds a pen and draws — your name, a portrait of Immanuel Kant, whatever vector paths you feed it. It is quite possibly the cheapest useful robot you can build (~€14 in parts if you already own a Pi), and the only one in this catalog whose output you can stick on the fridge.
Created by Daniele Procida · evildmp/BrachioGraph · MIT License · Official tutorial: brachiograph.art
Featured by the Raspberry Pi Foundation and Hackaday.
How it works
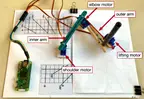
The arm is two 8cm links: a shoulder servo swings the inner arm, an elbow servo swings the outer arm, and a third servo nudges the pen up and down via a clothes peg. Closed-form inverse kinematics (two lines of atan2/acos — no solver, no calculus degree required) converts an (x, y) target in centimetres into two joint angles. Chain enough targets together and you have a drawing. The default plotting area is roughly 14 × 9 cm — postcard-sized art.
This program ships the IK adapted directly from the upstream brachiograph.py (MIT, © 2019 Daniele Procida) plus ready-made actions: park, pen up/down, draw the bounds box (the canonical calibration check), and a zigzag test stroke.
Two ways to build the arms
- No 3D printer — the canonical build. Popsicle sticks, hot glue, a clothes peg. This is how the original is designed and it works disarmingly well. Full instructions at brachiograph.art (build time: about an hour).
- 3D-printed parts (community, by ringo2k): Printables model 926063 — 5 parts attached to this program:
PiMountBase,ServoArmInner80,ServoArmOuter,ServoLifterHornE0,Standoff40mm. Inner arm is 80mm center-to-center, matching the official geometry. Standard PLA, 0.2mm layers, 20% infill is plenty. No supports needed except possibly the Pi mount base.
Wiring — two control paths
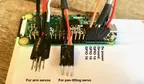
orobot-native (what this program drives): put the three SG90s on a PCA9685 16-channel PWM board ($5–6) on the Pi's I2C bus — shoulder → channel 0, elbow → channel 1, pen lifter → channel 2. The orobot firmware's pca9685-arm bridge drives them through a serialized command queue, and this program's actions work out of the box. Power the servos from the PCA9685's V+ terminal (5V), not the Pi's 3.3V rail.
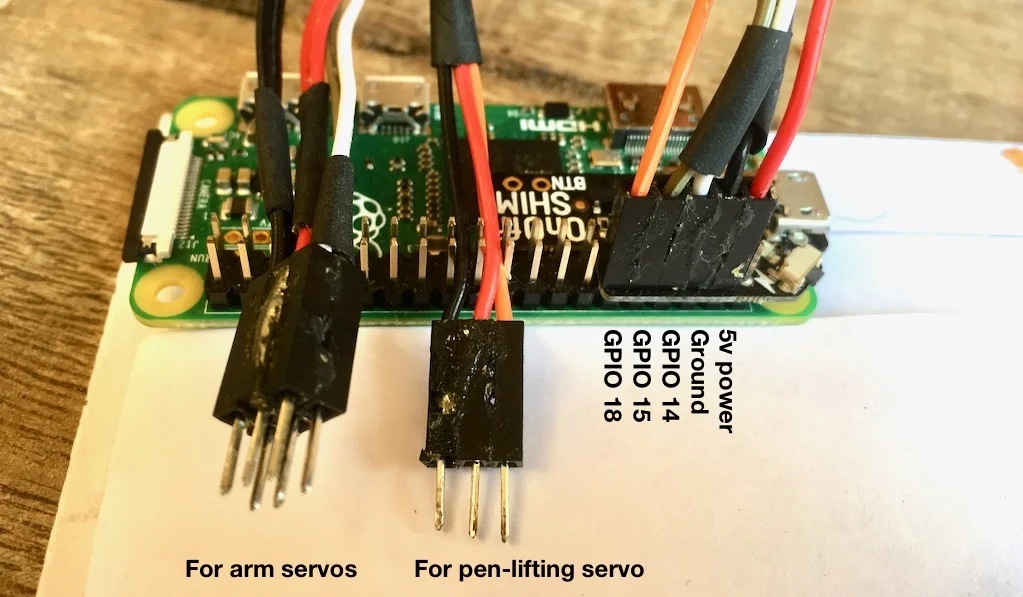
Upstream-standalone (the original way): servos wired directly to GPIO 14 (shoulder), GPIO 15 (elbow), GPIO 18 (pen), driven by the pigpio daemon at 50Hz with 500–2500µs pulses. This is the path the official tutorial documents, and the right choice if you want to run the full upstream Python stack (bitmap vectorization, calibration notebooks) without orobot. Note: pigpiod wants exclusive GPIO PWM control — don't run both stacks against bare GPIO at once.
Assembly overview
(Condensed from the structure of the official tutorial — read it in full, it's excellent.)
- Build the base. Glue the shoulder servo to a board or use the printed
PiMountBase(holds the Pi too). - Build the arms. Inner arm: 8cm between servo centers — one servo body glued at each end (or print
ServoArmInner80). Outer arm: 8cm from elbow to pen (or printServoArmOuter+ glue the clothes peg at the 80mm mark). - Center the servos FIRST. Drive all three to their midpoint (1500µs) before pressing on the horns. A horn glued off-center eats half your drawing area.
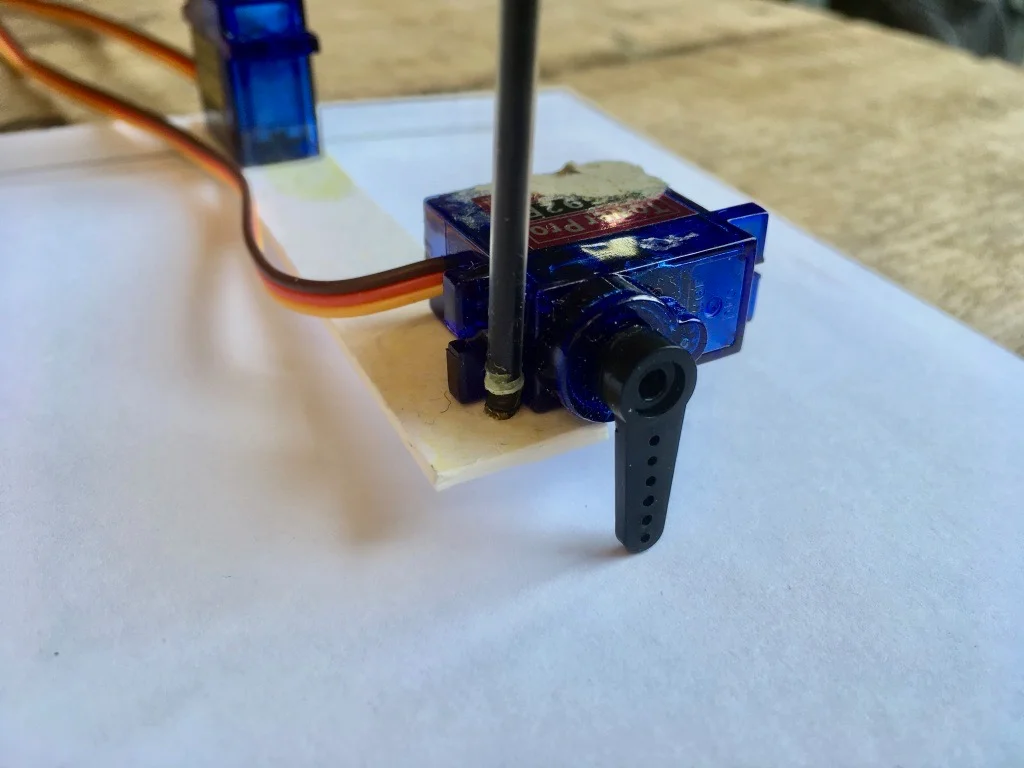
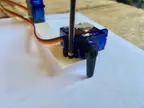
- Attach the pen lifter. The third servo lifts the outer arm a few millimetres (printed
ServoLifterHornE0gives a better 90° lifting action than a bare horn). - Wire it. PCA9685 path: servo plugs onto channels 0/1/2, board to Pi I2C (SDA/SCL/5V/GND). Standalone path: signal wires to GPIO 14/15/18, 5V and ground rails on a mini breadboard.
- Calibrate. Run Draw Bounds Box. If corners get skipped or the box is a parallelogram, your horns are off-center or arm lengths are off — adjust and repeat. (Upstream has a deeper calibration routine with per-servo pulse-width tuning for the dedicated.)
- Draw. Pen down, send coordinates, make art. Sign your plots; the robot doesn't mind.
What's honest to expect
SG90s are $2 servos with the repeatability of a $2 servo: lines wobble, corners round off, and that is the charm — BrachioGraph drawings have a hand-drawn, slightly anxious quality that plotter people pay good money to fake. For converting actual images to plottable paths, the upstream repo's linedraw.py vectorizes bitmaps; a browser-side "paste an SVG, robot draws it" pipeline is the natural next step for this program but isn't built yet.
必要なハードウェア
| Item | Qty | Unit Cost | Notes |
|---|---|---|---|
| TowerPro SG90 micro-servo | 3 | $5.95 | Adafruit #169 (SG92R, equivalent); cheaper in multi-packs (~$2/ea) |
| Raspberry Pi Zero 2 W | 1 | $19.05 | Adafruit #5291 — frequently out of stock; buy from raspberrypi.com resellers. Any 40-pin Pi works (3B+ is a fine substitute) |
| PCA9685 16-ch PWM board | 1 | $5.95 | Adafruit #815 — for the orobot-native control path (skip if running the upstream pigpio stack on bare GPIO) |
| Popsicle/craft sticks (50-pack) | 1 | ~$1 | Arm material — or print the Printables parts instead |
| Clothes peg | 1 | ~$0.50 | Pen holder (a binder clip also works) |
| Jumper wires, female-female | 1 pack | ~$5 | Servo signal + power |
| Mini breadboard | 1 | ~$1 | 5V/GND distribution for 3 servos (bare-GPIO path only) |
| Foam core or cardboard, A4+ | 1 | ~$1 | Drawing base board |
| Hot glue gun + sticks | 1 | ~$5 | The official fastener of this robot |
| Ballpoint pen or pencil | 1 | $0 | You own one |
Total: ~$40–55 including the Pi · ~$15–25 if you already own a Pi · upstream claims €14 (EU pricing, Pi excluded)
似たロボットを探す