Pan-Tilt Camera Tracker
 O
OÜber dieses Programm
Two micro servos, one Pi camera, zero excuses. The Pan-Tilt Camera Tracker is the smallest robot that can look at you — a $60–100 camera head that pans, tilts, streams live video to your browser, and follows faces using nothing more exotic than OpenCV and a proportional control loop. It is orobot's first vision-class robot: where every other robot in the catalog moves, this one sees.
What it does in your browser, today
- Live camera stream — with
cameraenabled in the program config, the orobot firmware pushes MJPEG frames from the Pi camera to the gateway, and the operator page's camera panel shows the live view (~10 fps push loop). Note: the firmware's frame capture currently shells out toraspistill, the legacy Pi camera stack — on Pi OS Bookworm, enable legacy camera support or symlinkrpicam-still. - Pan/tilt control — Center, Sweep Scan, and Look Left/Right/Up/Down actions drive the two servos through the firmware's PCA9685 servo bridge. The joint sliders work too.
- On-device detections — the "What Do You See?" action asks the firmware for an inference pass (
infer-frame); detections come back as bounding boxes in the operator Vision panel and as device log lines. Requires a vision backend on the Pi (ONNX Runtime viaOROBOT_VISION_BACKEND=python, or transformers.js). - Closed-loop tracking steps — feed the
track-stepaction a detection's offset from frame center and the head nudges proportionally toward it. Chain steps as detections arrive and you have a face tracker.
Honest limits: fully autonomous, continuous high-rate face tracking (detect → correct, many times per second) runs best as an on-device Python script (pattern below) rather than through round-trips to the cloud. And nobody — including the upstream tutorials — has published verified FPS numbers for Haar-cascade face detection on a Pi Zero 2 W. That's why we recommend a Pi 4 or Pi 5: quad-core with headroom, so detection at 640×480 stays fluid instead of slideshow.
How the tracking works
The algorithm is delightfully simple and fully public knowledge:
- Grab a frame from the camera (640×480 is plenty).
- Detect a face — OpenCV Haar cascade (
haarcascade_frontalface_default.xml) or a DNN detector if you have the horsepower. - Compute the detection centroid's offset from the frame center, normalized to −1..1.
- Multiply by a proportional gain (this program uses Kp = 0.55 with an 8% dead band) and the camera's field of view to get a servo correction in degrees.
- Move pan/tilt by that correction. Repeat. The face stays centered; the robot appears to "watch" you.
When no face is found, the head runs a slow pan sweep — the classic searching behavior.
Two ways to build it
Path A — no 3D printer (recommended first build): the Adafruit Mini Pan-Tilt Kit #1967 ($18.95) arrives assembled with both micro servos already installed. Add a Pi camera and a Pi and you're done with mechanics. Follow the Adafruit assembly guide if you buy the unassembled version.
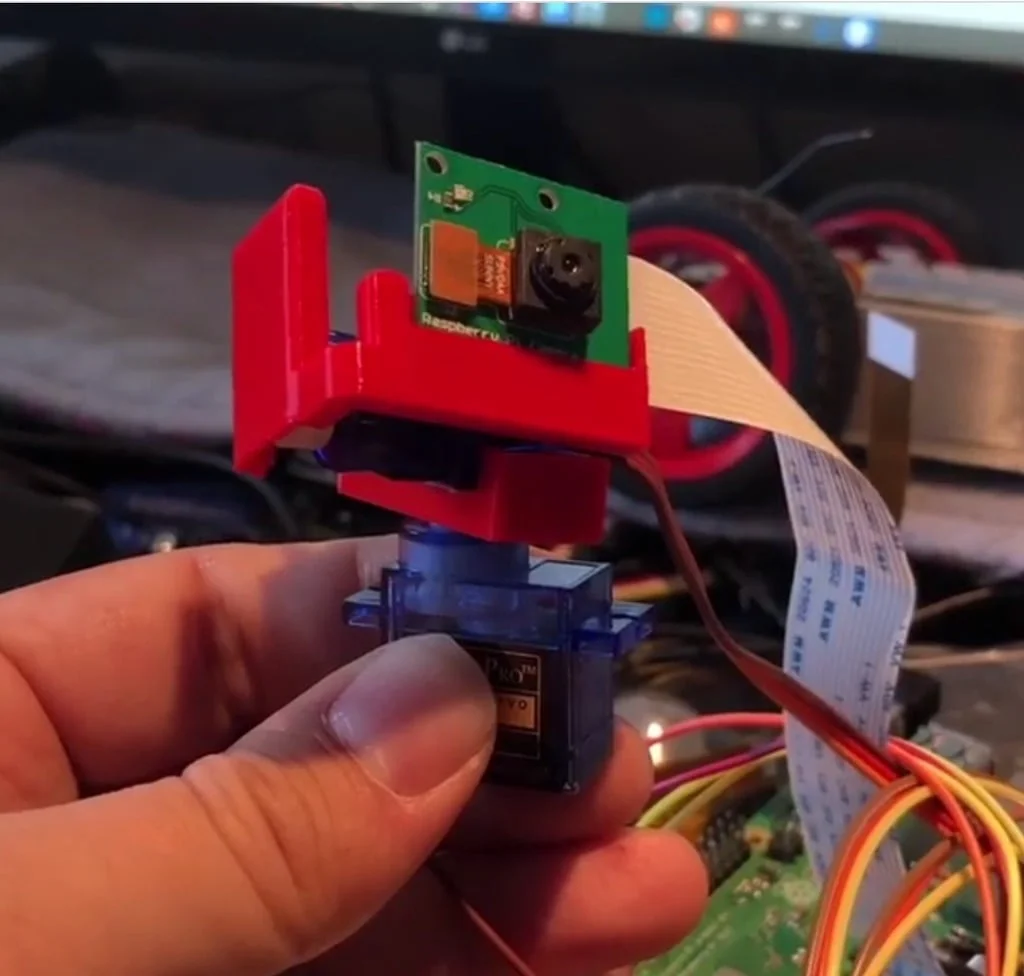
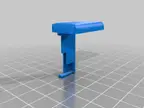
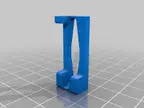
Path B — print the brackets: the two STLs attached to this program (pan adapter + tilt adapter) are "3D Printed Raspberry Pi Pan-Tilt Camera Brackets" by Makerhacks (CC BY 4.0). They take two standard SG90 servos (~$3/pair in multipacks) and a Pi Camera V2. Print in PLA or PETG at 0.2 mm layers, 20% infill — these are not structural parts.
Assembly overview
- Mechanics — assemble the pan-tilt head: pan servo in the base, tilt servo in the bracket, camera plate on the tilt arm (Adafruit guide for the kit; the printed brackets snap/screw around the SG90s the same way).
- Center first! Power each servo and command it to its center (0°/1500 µs) before screwing the horns down. Skipping this is the #1 way to end up with a head that can look hard left but not right.
- Camera — connect the Pi Camera V2 ribbon to the CSI port; route the ribbon with slack so a full tilt doesn't tug it.
- Wiring (orobot-native) — servos to PCA9685 channels 0 (pan) and 1 (tilt); PCA9685 to the Pi's I2C pins; servo power from a 5 V supply with common ground.
- Wiring (standalone alternative) — servo signals direct to GPIO BCM 17 (pan, pin 11) and BCM 23 (tilt, pin 16). This is the wiring the classic tutorials use (Pimoroni, DigiKey). Use it for the standalone Python tracker, not together with the orobot firmware's servo bridge — one driver per servo, please.
- Software — flash Pi OS, install orobot firmware, enable the camera in this program's config. For standalone tracking write a Python 3 script with
opencv-python≥ 4.x andpicamera2(the venerable Python 2 + OpenCV 2 demos predate Bookworm and won't run unmodified).
Attribution & design references
- 3D-printed brackets: Makerhacks on Printables, model 907524 — Creative Commons Attribution (CC BY). The two STLs attached here are redistributed under that license with attribution.
- Bracket photos: from the same Printables listing, CC BY, © Makerhacks.
- Tracking pattern references: Pimoroni's pan-tilt face tracker tutorial and DigiKey's Raspberry Pi pan/tilt face tracker build. The widely-known
pageauc/face-track-demorepository was consulted as a behavioral reference only: it carries no open-source license, so no code from it appears in this program. The control code here is a clean-room implementation of the publicly documented detect-centroid-correct pattern, written for orobot. - Hardware kit: Adafruit Mini Pan-Tilt Kit #1967 (we are not affiliated; it's just good).
🖨 Druckdateien (2)
pan-tilt-adapter-pan.stl
pan-tilt-adapter-tilt.stl
Benötigte Hardware
Shared electronics (both build paths)
| Item | Qty | Unit Cost | Notes |
|---|---|---|---|
| Raspberry Pi 4 (2GB+) or Pi 5 | 1 | $35–45 | Recommended for fluid face detection. Pi Zero 2 W ($19.05, Adafruit #5291) works for streaming + manual control but has no verified tracking FPS; it was also out of stock at Adafruit at research time. |
| Raspberry Pi Camera V2 (8MP, IMX219) | 1 | $29.95 | Adafruit #3099. Any CSI camera with a working capture stack is fine. |
| PCA9685 16-ch PWM servo board | 1 | $5–15 | For the orobot-native servo bridge (I2C). Skip if wiring servos direct to GPIO for standalone mode. |
| microSD card (≥16GB, Class 10) | 1 | $8–12 | — |
| 5V/3A USB-C power supply | 1 | ~$8 | Power servos from 5 V with common ground — not from the 3V3 rail. |
| Female-to-female jumper wires | 1 pack | ~$5 | — |
Path A — Adafruit kit (no printing)
| Item | Qty | Unit Cost | Notes |
|---|---|---|---|
| Mini Pan-Tilt Kit, assembled with micro servos | 1 | $18.95 | Adafruit #1967. Includes both SG-92 servos + nylon brackets. ~180° pan, ~150° tilt. |
Path B — 3D-printed brackets
| Item | Qty | Unit Cost | Notes |