

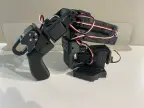
SO-ARM101 Standard Open Arm
 B
B✓ Enlaces verificados Jun 10, 2026
Regístrate para instalarAcerca de este programa
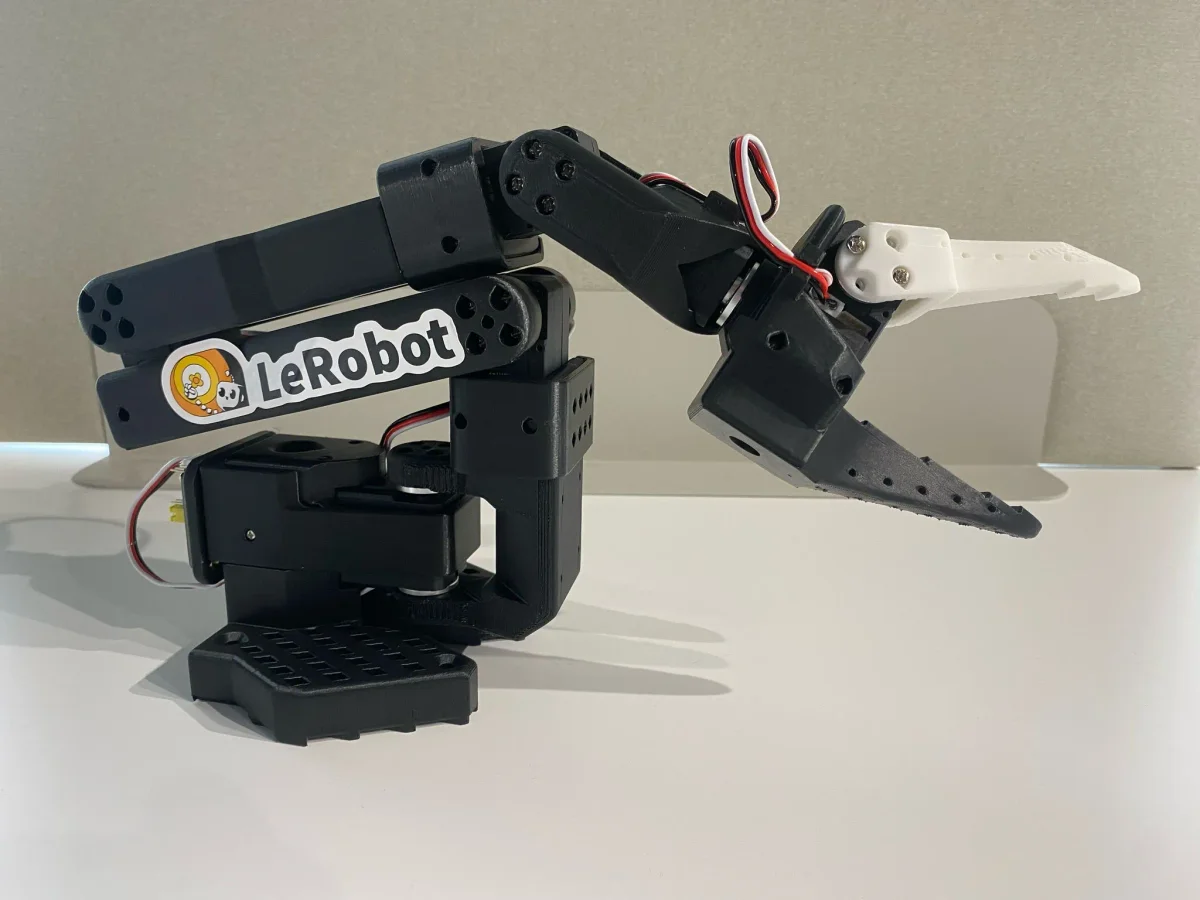
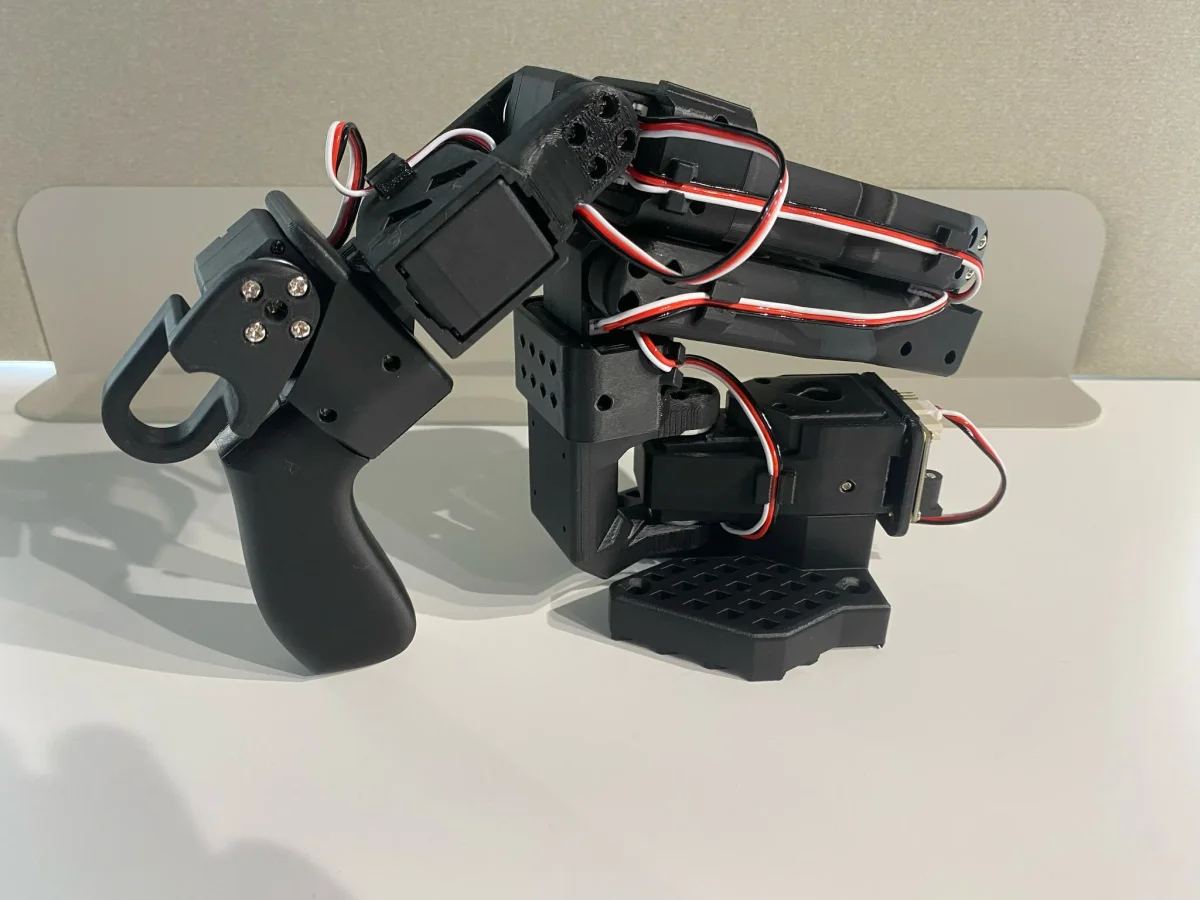
A single SO-ARM101 (Standard Open Arm) — one 6-DOF arm, six serial-bus servos, driven straight from a Raspberry Pi or a laptop. Free STLs, the control program, and a complete bill of materials.
This is the single-arm build. If you want the two-arm teleoperation rig — a leader arm you hold and a follower that mirrors it — that is a different page with a different BOM (twelve servos, mixed gear ratios). Everything here is scoped to one arm.
What you get
- 12 STL files — the full SO-101 frame: base, motor holders, upper and under arm, wrist roll and pitch, moving jaw, and handle. Print them yourself, or buy a printed frame kit.
- A control program (
script.js) that clones and installs Hugging Face LeRobot on the device, then exposessetup,start,calibrate,homeandstopas callable entry points. - A 6-servo BOM with buy links — see the BOM tab.
What it's for
Six degrees of freedom with a compliant gripper, absolute magnetic encoders on every joint, and 30 kg·cm of torque at the shoulder. It picks things up, moves them, and puts them down accurately enough to record datasets. Because it runs LeRobot, the same arm works for scripted motion, teleoperated data collection, and running an imitation-learning policy you trained yourself.
Reach is roughly 45 cm, working payload around 300 g at full extension.
Build outline
- Print the frame. PETG is worth it — the joints sit against motors that get warm. 0.2 mm layers, 4 walls, 25% infill. About 20 hours of print time and roughly 500 g of filament.
- Set the servo IDs. Before anything is bolted together, plug each servo into the driver board one at a time and assign IDs 1–6, base to gripper. Doing this after assembly means taking it apart again.
- Assemble base to gripper. Each joint is a servo in a printed holder; horn screws go in last so you can still center the output shaft.
- Wire the bus. All six servos daisy-chain on a single 3-pin TTL bus — one cable back to the driver board, one USB-C to the host, one barrel jack for 12 V.
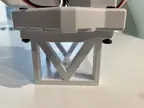
- Clamp it down. Non-negotiable. An unclamped arm at speed will drag itself off the desk.
- Calibrate. Run
setuponce, thenstartandcalibrate. The LeRobot routine walks each joint to its limits and writes the offsets. Ten minutes.
Running it
setup → start → calibrate on the first run. After that, start then home is enough. stop disconnects cleanly and de-energizes the servos.
A follow entry point is included for later: if you ever add a leader arm on a second serial port, this arm can track it without a code change.
Notes
- Servos ship with ID 1. They must be re-addressed individually or the bus collides.
- Keep the first movements slow. 30 kg·cm will strip a printed gear before you can react.
- The wrist camera is optional and only matters if you're recording datasets.
Based on the SO-ARM100 / SO-101 project by The Robot Studio and Hugging Face, Apache 2.0.
🖨 Archivos de impresión (12)
Base_SO101.stl
Base_motor_holder_SO101.stl
Motor_holder_SO101_Base.stl
Motor_holder_SO101_Wrist.stl
Under_arm_SO101.stl
Upper_arm_SO101.stl
Rotation_Pitch_SO101.stl
Wrist_Roll_SO101.stl
Wrist_Roll_Pitch_SO101.stl
Wrist_Roll_Follower_SO101.stl
Moving_Jaw_SO101.stl
Handle_SO101.stl
Hardware requerido
SO-ARM101 Parts — Single Follower Arm (6 servos)
Everything needed to build one SO-101 arm. This is not the leader + follower teleop pair — no leader arm, no second servo set. Structural parts come from the STLs on this page.
| Item | Qty | Notes | Source |
|---|---|---|---|
| Feetech STS3215 bus servo, 12 V, 30 kg·cm, 1/345 gear (2-pack) | 3 | 6 servos total — every joint on a follower arm uses the same 1/345 ratio | Amazon — $48.99 ea |
| Waveshare serial bus servo driver board | 1 | USB-C to half-duplex TTL; integrates servo power and control | Amazon — $12.99 |
| 12 V 5 A DC power supply (5.5×2.5 mm barrel) | 1 | 60 W — headroom for all six servos moving at once | Amazon — $13.99 |
| USB-C cable | 1 | Driver board to host (Raspberry Pi or laptop) | Amazon — $5.99 |
| Desk C-clamps (4-pack) | 1 | Clamp the base down — an unclamped arm will drag itself off the edge | Amazon — $13.97 |
| M2/M3 socket-head screw + nut kit (540 pcs) | 1 | Frame fasteners, sized for 3D-printed parts | Amazon — $9.99 |
| Precision screwdriver set | 1 | Assembly and servo horn screws | Amazon — $9.99 |
| USB camera module, 1080p wide angle | 1 | Optional — only needed to record imitation-learning datasets | Amazon — $18.99 |
| Servo daisy-chain cables (SCS 3-pin) | 1 set | Optional — spares; each servo ships with one | AliExpress |
Total: ~$214 for a working arm, ~$233 with the camera.
Prefer one box?
Explorar robots similares