Old Train Station Clock
 B
B✓ Links verified May 19, 2026
Sign up to InstallAbout this program
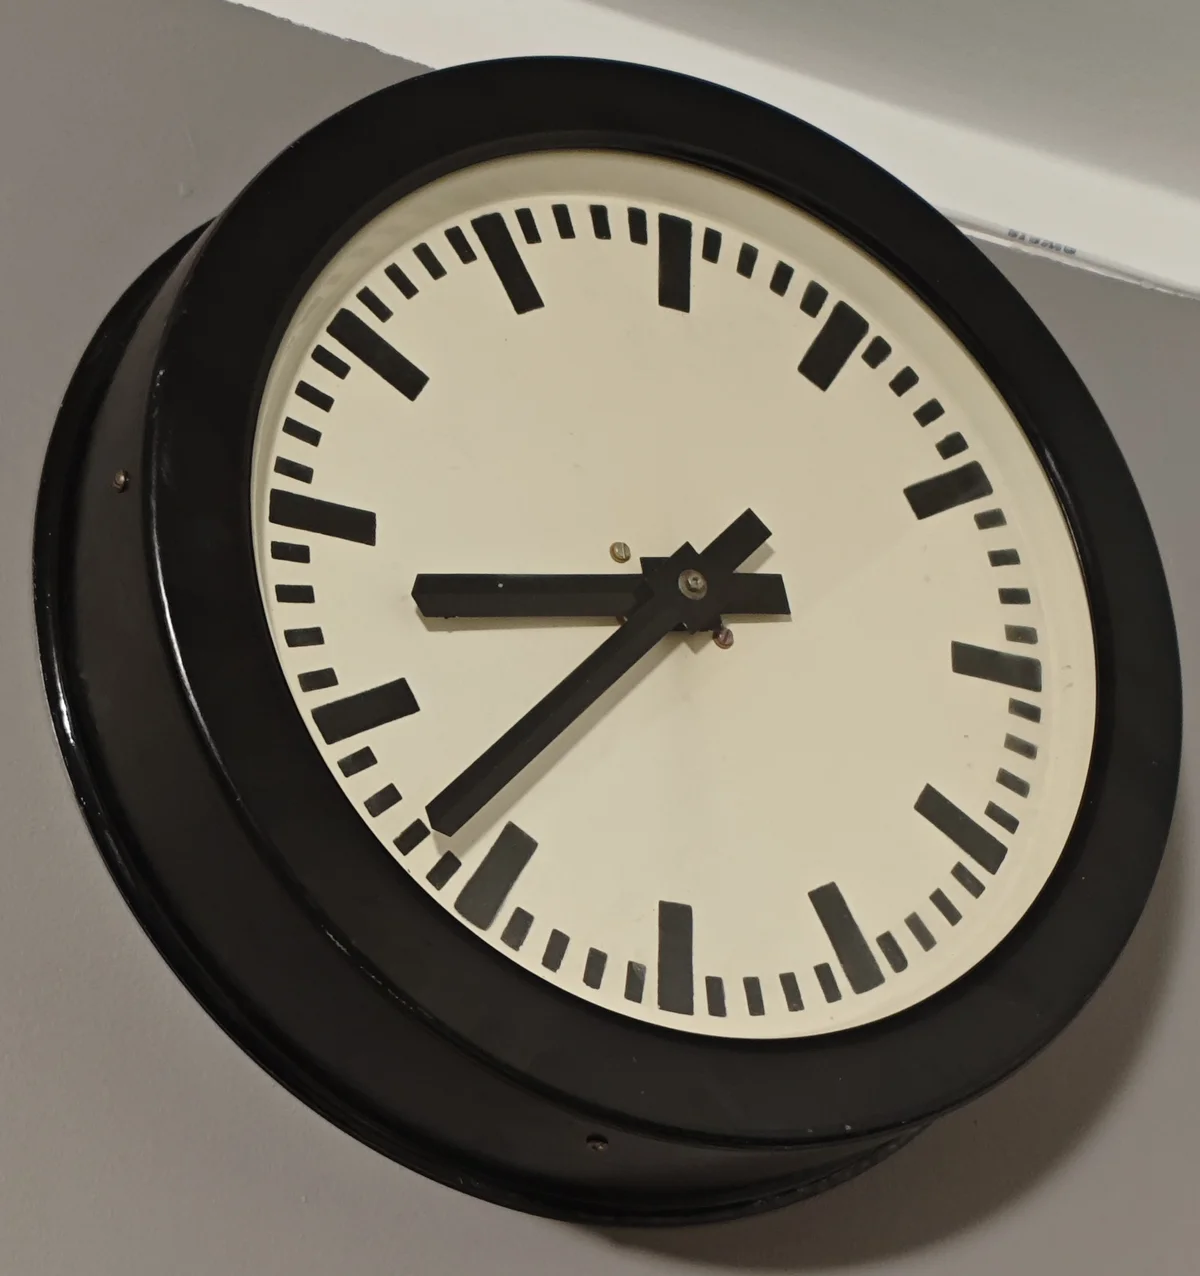
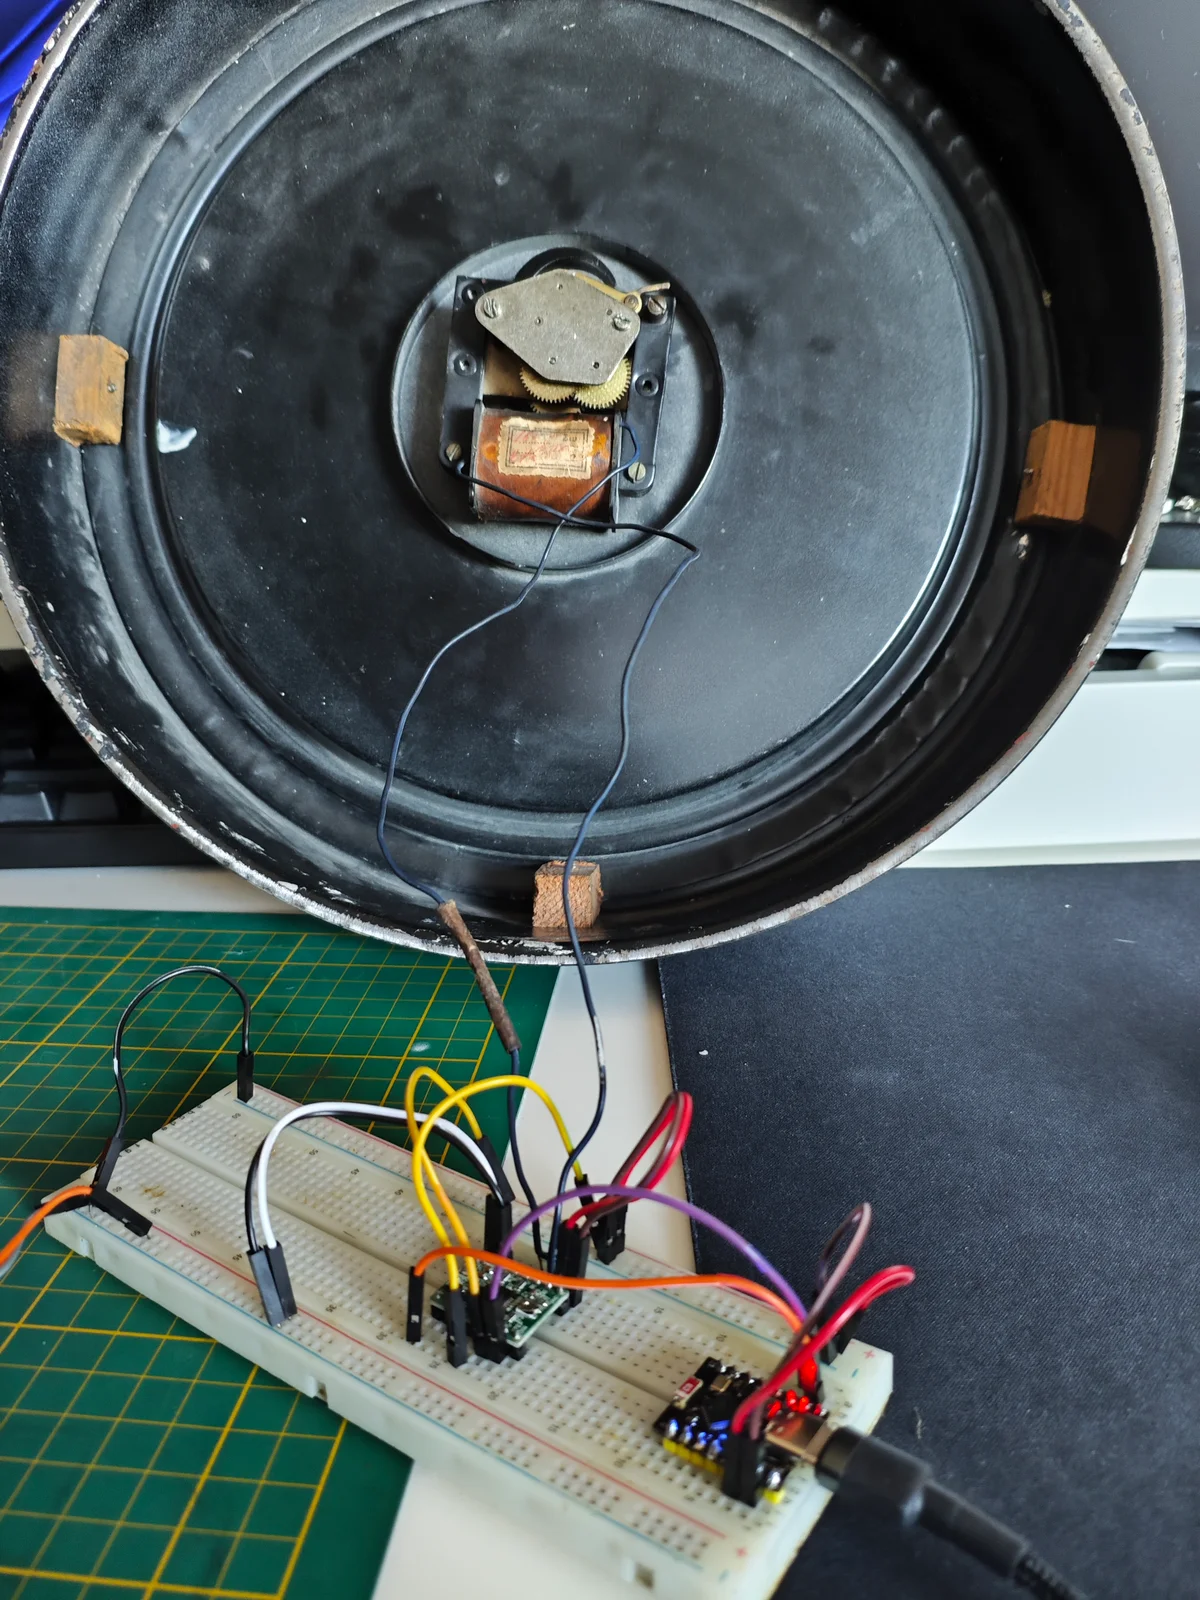
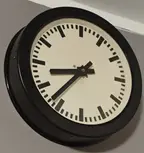
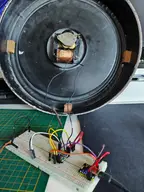
Old train station clock revival using a vintage escaped-anchor clock mechanism found at a flea market. The clock coil is driven by a single A4988 or DRV8825 stepper motor driver — the same drivers commonly found in 3D printers — delivering alternating 24V DC pulses to advance the minute hand one step at a time. An ESP32-C3 Mini running MicroPython orchestrates the timing, WiFi connection, and NTP synchronization.
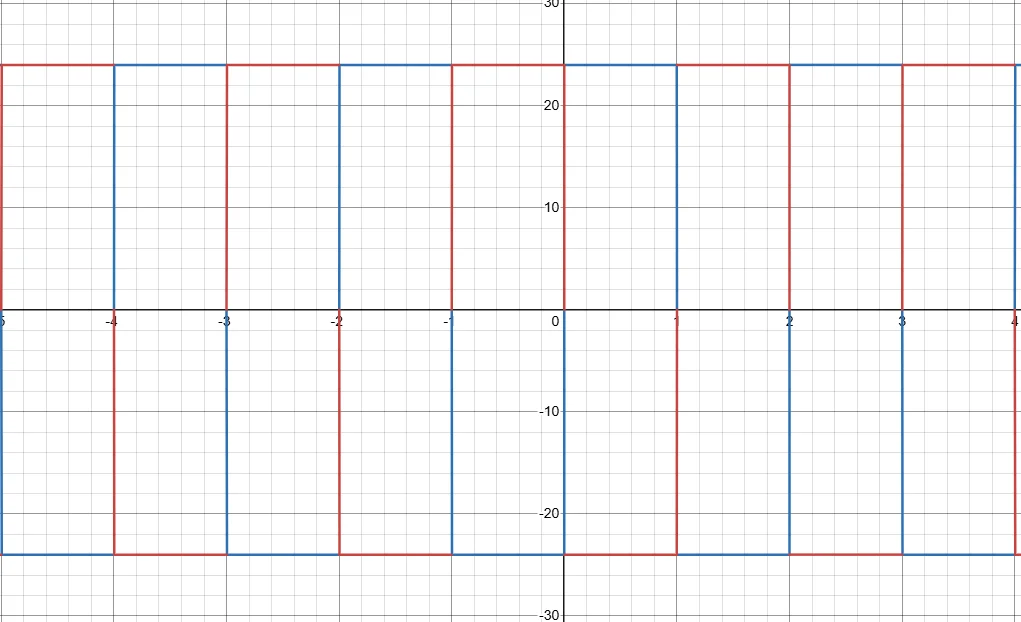
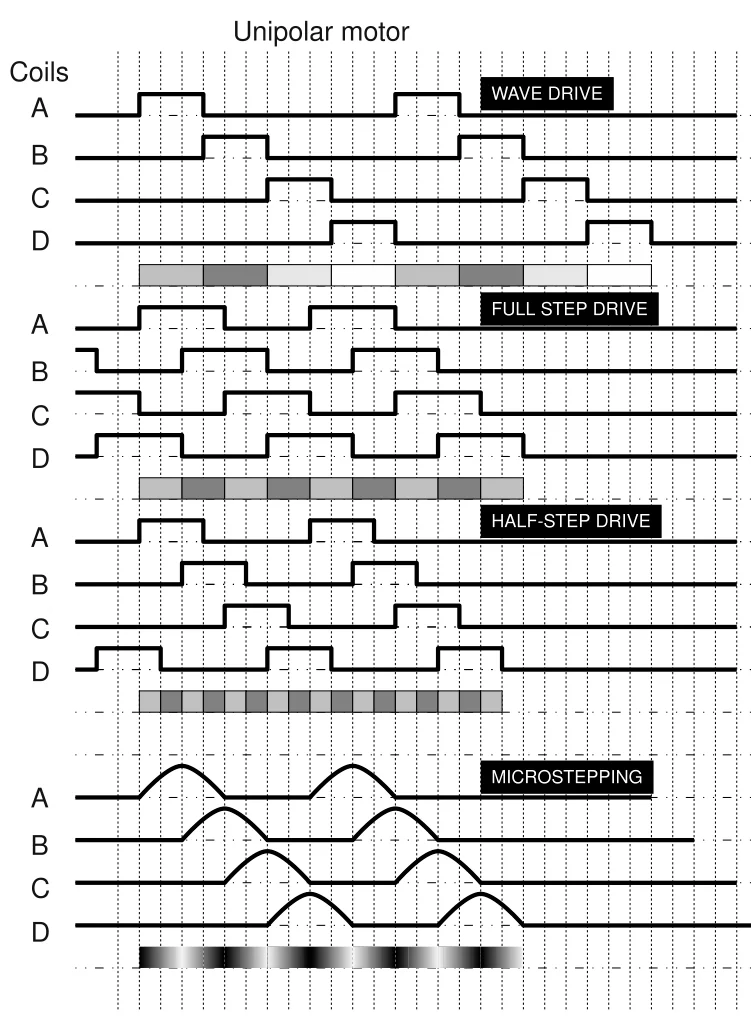
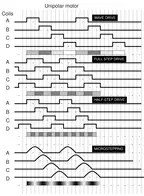
How it works: The clock mechanism uses an escapement that advances one minute per polarity reversal on its coil. The stepper driver acts as an H-bridge, switching between +/- and -/+ states. Two driver steps per minute produce this reversal without microstepping. The ESP32 enables the driver, sends two step pulses, then immediately disables it to minimize heat.
Time synchronization: On startup and every hour, the firmware calls worldtimeapi.org over WiFi to set the internal ESP32 RTC. The onboard blue LED indicates sync status — off during sync, on when successful. Persistent memory in configuration.json stores the current hand position as minutes from 12:00, so a power cycle resumes without losing track of where the hands are.
Interactive console: When connected via USB, a full REPL-style console lets you set the displayed time, advance minutes, change timezone, force sync, or start automatic mode — all without reflashing.
Hardware required:
- ESP32-C3 Mini (WiFi-capable, small form factor, 3.3V logic)
- A4988 or DRV8825 stepper motor driver (the spare ones from your 3D printer drawer work perfectly)
- 24V DC power supply for the clock coil
- 5V regulator (LM2596 or equivalent) for standalone operation without USB
- Vintage train station clock mechanism (Pragotron, Mobatime, or any two-step coil type)
Firmware: MicroPython on ESP32-C3 Mini. Three GPIO pins: pin 6 (not-enabled, active low), pin 7 (step signal), pin 8 (status LED). WiFi credentials and timezone stored in configuration.json on the flash filesystem. No cloud dependency beyond the worldtimeapi.org time check.
Created by Piotr Topa. Source: https://github.com/PiotrTopa/OldTrainStationClock — MIT License.
Required Hardware
| Item | Qty | Unit Cost | Notes |
|---|---|---|---|
| ESP32-C3 mini board (e.g. Seeed XIAO C3) | 1 | $7.00 | WiFi-capable controller |
| A4988 or DRV8825 stepper driver module | 1 | $4.00 | Used as H-bridge for clock coil |
| LM2596 buck converter module | 1 | $3.00 | Steps clock supply down to 5V |
| 24V DC power supply (1A, 5.5x2.1mm) | 1 | $12.00 | Drives clock coil |
| Vintage train-station slave-clock movement | 1 | $30.00 | Author paid ~€25; varies by source |
| USB-C cable | 1 | $5.00 | Programming + console |
| 5.5x2.1mm DC barrel jack pigtail | 1 | $3.00 | (inferred) Power input |
| Breadboard or prototyping PCB | 1 | $5.00 | (inferred) Per docs photos |
| Dupont jumper wires (M-F) | 1 kit | $7.00 | (inferred) Wiring |
| Flyback diode (1N4007 or schottky) | 2 | $0.20 | (inferred) Coil snubber, recommended for solenoid |
| 100µF / 470µF electrolytic capacitor | 2 | $0.50 | (inferred) Power rail decoupling |
| Project enclosure (ABS or 3D-printed) | 1 | $8.00 | (inferred) Mounting |
Explore similar robots